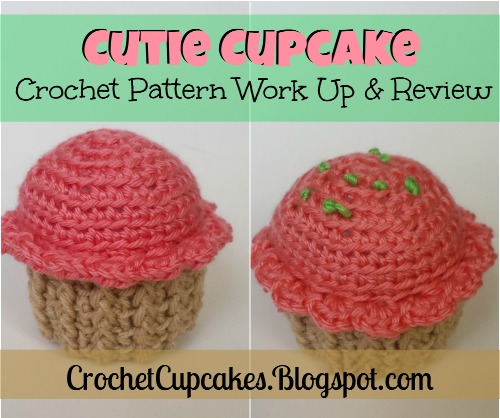
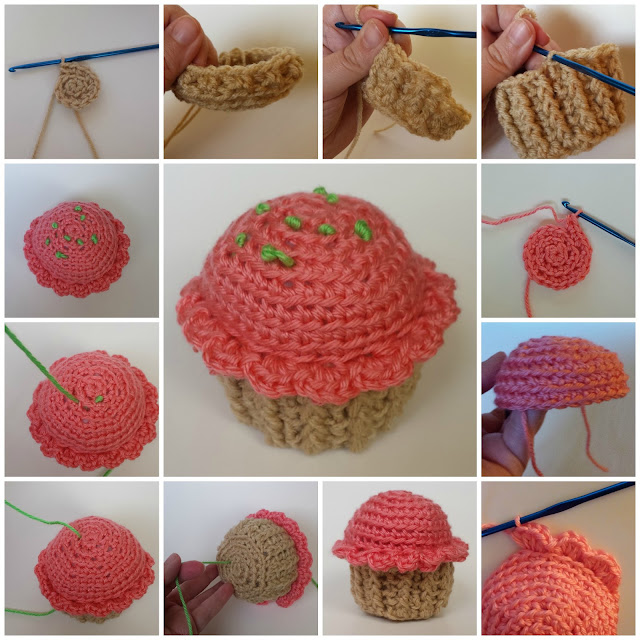
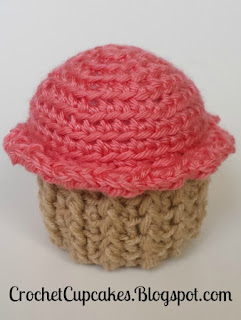
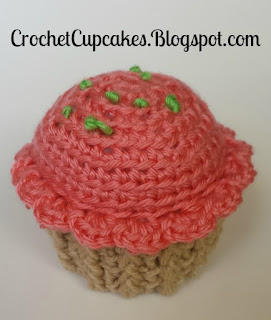
I finally did it - here's my Cutie Cupcake crochet pattern work up and review! I really enjoyed this little project that worked up super fast and looks so sweet!
If you're looking for a fun project that you can finish quickly - I mean, you can finish this in a couple of hours! - this might be the next pattern to add to your project planner.
One thing I found interesting about this pattern is that it calls for two types of yarn - standard worsted weight yarn and soft worsted weight yarn. Not very common.
To work this up, you'll need a couple ounces of each type in any colors you want to use. You could use a variegated yarn for the bottom if you want to go for that "cupcake liner" look and pretty much any vibrant color would look great for the cupcake top - who wouldn't want a bright blue, green, or - as in my case - PINK cupcake?
You'll also need a stitch marker, size F crochet hook, polyfill stuffing and/or bean bag fill. I opted to use just polyfill stuffing, but the author suggests using the bean bag fill for the bottom and after working this up, I might try that next time.
The stitches you'll use are:
- Chain - CH
- Single Crochet - SC
- Half Double Crochet - HDC
- Front Post Half Double Crochet - FPHDC
- Slip Stitch - SL ST
- Shell
The instructions are fairly well written and straightforward.
There were some moments I struggled with my the pattern and because of this, I did modify the pattern to suit myself.
That's not to say there's a problem - the author does address the issue I had, I just didn't like the way my work was turning out, so I modified.
Both the top and bottom are worked in a spiral without joining, so you will need a stitch marker. Being a bit of a rebel and to save me a little bit of time, I stopped using my stitch marker (a.k.a. a safety pin) after the first few rounds. Keeping count is challenging but doable, but if you have the time and inclination, just use a marker.
Once you have your pieces made, you simply stuff and stitch your top to the bottom.
At this point in the pattern, you're done. However, I can't always leave well enough alone, so I chose to embellish my cupcake a bit.
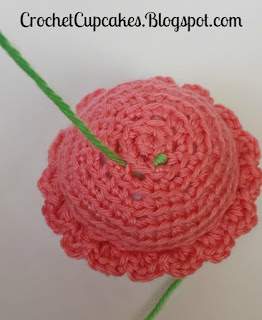
All I did was take some contrasting yarn and work up a few french knots on the top of the cupcake to look like sprinkles.
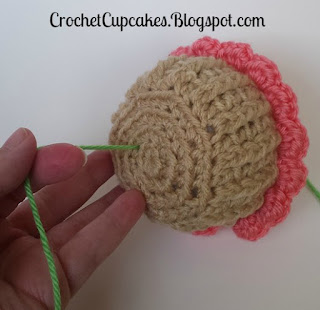
I brought my yarn through the bottom of the cupcake, worked my french knot, and brought the yarn back into the cupcake to secure.
Here's a quick tutorial on how to crochet a french knot:
I LOVE this super easy cupcake crochet pattern! It's easy for all skill levels, it can be made in dozens of different yarn colors, and you can embellish to your heart's content, if you like. I could see working up a scalloped circle in white for some extra "frosting" or you could crochet a small cherry or strawberry to add to the top of your cupcake. You could easily work up a couple of rows of single crochet to swirl and stitch to the cupcake top.
And for a bigger cupcake, all you'd have to do is increase the size of your hook and maybe double up on your yarn - or use chunky yarn instead of worsted weight.
If you're in love with this crocheted cupcake like I am and want to work one up real quick, you can get the pattern from Ravelry right here.

