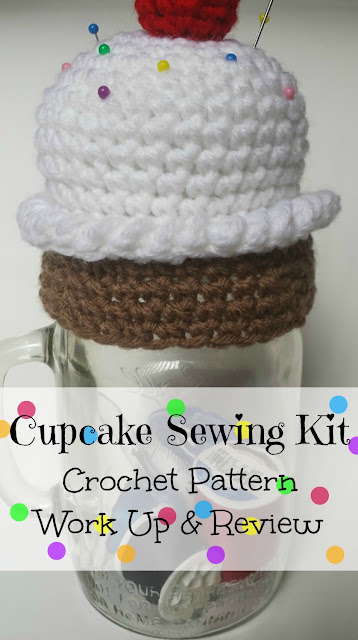
Welcome to the final post in my cupcake series: this cupcake pin cushion sewing kit combo crochet pattern work up and review!
I had a great time working up this free pattern from One Dog Woof that I found on Ravelry. See, when doing these series posts for you guys, I look for patterns that are easy, but unique. I found a ton of cupcake patterns that were variations on the same thing, but this...this one really stood out.
It also helped that I had everything I needed to make this.
Here's what you'll need:
- G hook
- C hook
- Worsted weight yarn in two colors - one color for your "cake" and one for the "frosting."
- Lion Brand Bon Bon yarn for the cherry (OK, don't freak out, but I used worsted weight for this; it's not the only tweak I made, either! You know I'm a crochet rebel.)
- One 5/8" wooden bead
- Fiberfill stuffing
- Large mason jar
- Hot glue
- Scissors
- Tapestry needle
- Sewing notions - thread, needle threader, measuring tape, seam ripper, assorted needles, pins, scissors; you can find great little sewing kits at dollar stores and just add a few things to bulk up your homemade kit!
This makes a great gift for the crocheter, but it also works for those who love sewing and quilting! Me? I made it for myself, but I know a few people who would enjoy receiving this and I may end up making a few more for birthdays, holidays, or just because.
Let's talk about how I made it.
I already had a large mason jar with a handle, but you could easily find one at your local dollar store, craft store, or grocery. The one I used was 24 oz. and didn't have a lid, so I was taking my chances that this project would work for me.
It did.
Thankfully, this pin cushion will fit on my mason jar with or without a lit. Score!
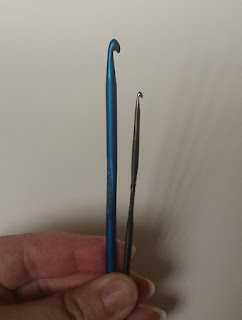
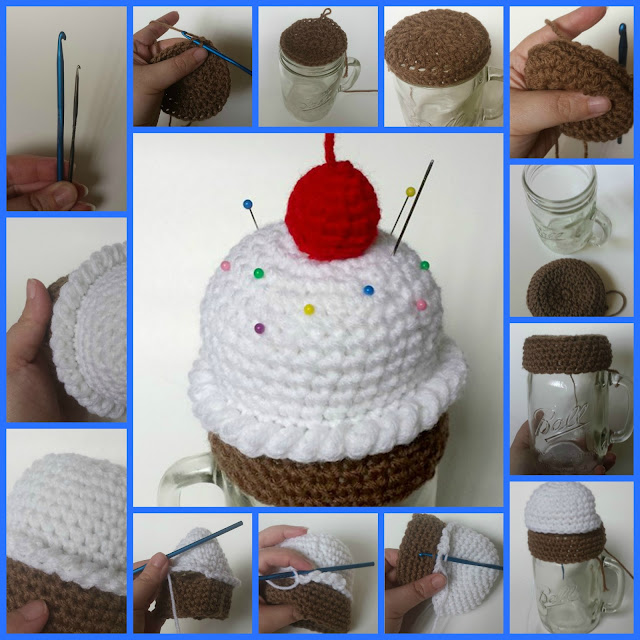
Once I had my mason jar, I gathered my materials. You'll notice that a C hook is TINY - I had one in my pack of steel hooks. It's only 2.75 mm and mine didn't have the "C" on it, only the measurement. You can see it here next to my G hook.
Next, I got my yarn ready. Like I said before, I used worsted weight yarn for the whole thing and it worked up just fine. But I have a feeling the Bon Bon yarn would have been easier and produced a smaller cherry.
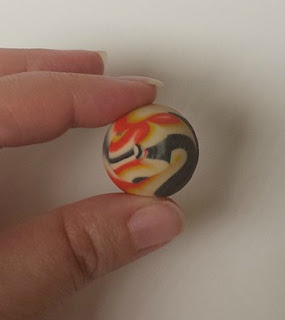
Speaking of the cherry, the pattern calls for a wooden bead, which I didn't have. Sure, I could have gone to Wal-Mart and picked one up, but I wanted to get started like-right-this-second, so I took stock of what I did have. And wouldn't you know? I had a whole jar full of those teeny rubber bouncy balls.
Those ones that cost a quarter and kids love? Yep. So I used one of those and it actually worked! You can't even see it under the yarn. The wooden bead might have made a smaller cherry, though. But I like how mine turned out.
I decided to make a chocolate cupcake with white frosting. In my mind, it's cream cheese frosting. :) I used Red Heart Super Saver yarn in Cafe Latte and "white." I lost the label on the white yarn, but it's Red Heart, too. And I used the color Cherry Red for the cherry. Fitting!
I worked up the pattern as described.
Until...
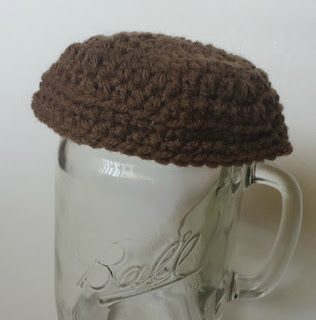
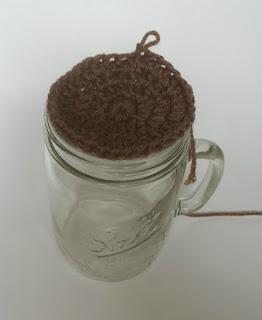
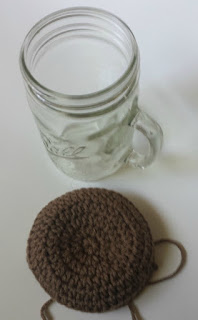
Oops! Much too big for my jar. This was worked through round 9 and I saw it wasn't going to work for me. So I frogged it back to round 4 and checked to see if it would fit over my jar.
Yes, that looked about right. It seemed like it just about matched the mouth of my jar and I knew that it would stretch a little. I was hoping for a tight fit, since I wasn't using a mason jar lid.
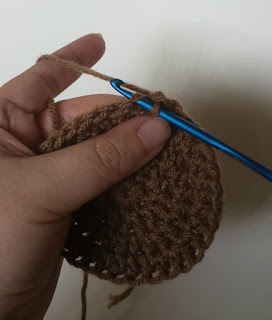
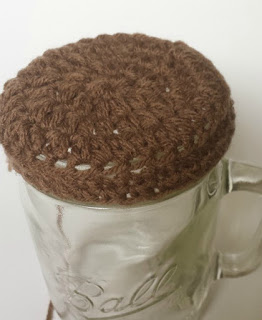
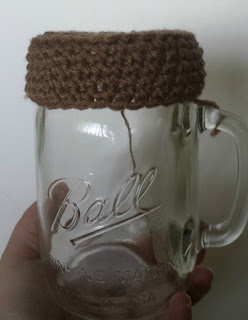
I resumed the pattern at round 7, single crocheting through the back loops only. I had to be mindful of my stitches; the pattern said 48, but I was working with 32. Luckily, I wasn't increasing or decreasing at this point.
Looking good! It was fitting over my jar.
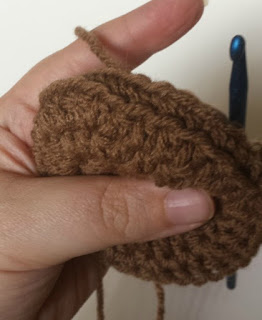
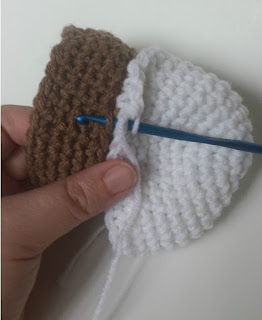
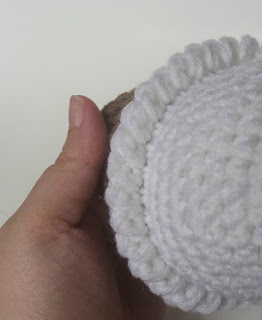
Here's a close up of the "edge" you get when you do round 7 and up. It not only looks good, but you need the unworked look to attach the top of the cupcake.
At this point, the pattern doesn't tell you to finish off, so I didn't. But later, I realized I could have finished off and set it aside while I worked the top.
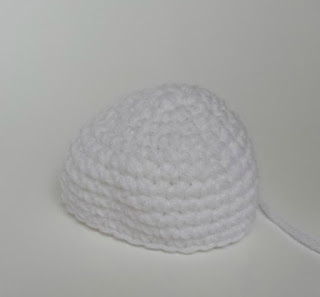
I got my white yarn and began the top of my cupcake. Remember, I had to tweak the pattern, so I had to be mindful of my stitches.
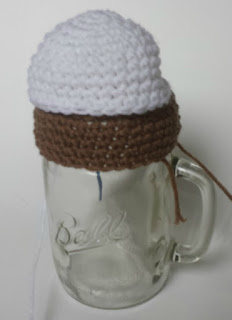
I couldn't just work the pattern as instructed. So on round 6, I only increased twice by working 14 sc, 2 sc in the next stitch, another 14 sc, and I increased again in the last stitch, finishing off with a sl st. I then worked sc all around for the rest, finishing with a total of 12 rounds. I matched up my cupcake top to the bottom to see if it was going to work.
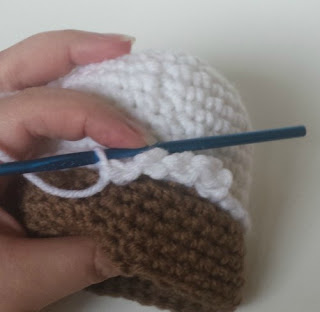
Looks good! Yes! The rest of the pattern was worked up without a hitch. I crocheted together the top and bottom pieces...
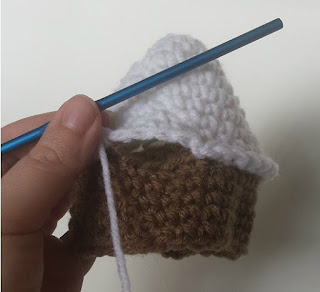
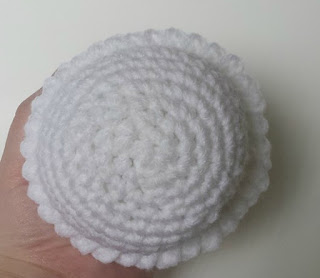
I just LOVED the look of this! All you're doing is slip stitching and double crocheting in each stitch and it creates this swirly effect!
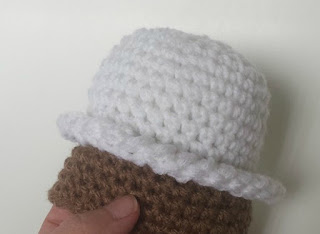
I worked my way round until about the last 4 or so stitches and then stuffed my cupcake. You can see how I left a pretty small opening.
It's beginning to shape up!
The last part was the cherry. I began a magic ring (leaving a tail for the "cherry stem"), crocheted up half the cherry, inserted my ball, and finished crocheting around the ball. Unfortunately, I forgot to photograph this part because it worked up so fast. Oops!
Now that I had my cherry, the pattern said to hot glue it to the top of the cupcake. But I thought sewing it on might be sturdier, so I chose to sew on my cherry. Nothing too difficult, I finished off the cherry leaving a looooong tail, which I used for sewing. I just whip stitched on top of the cupcake, hiding the stitches as best I could. I did pretty well, I think!
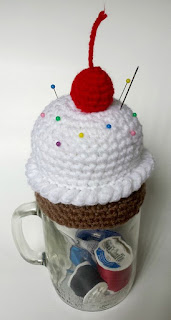
When it was finished, I put my sewing notions in the mason jar, covered it up with my pin cushion, and added some brightly colored pins for "sprinkles." You can see that my afghan needle is stuck in, too. I love this project!
If you want to work up your own, head on over to One Dog Woof's website for the free pattern. And be sure to show me your finished projects on my Facebook page!
One last thing. I have been crocheting for years, so I have an eye for when I can tweak a pattern like I did here. I didn't my best to share with you what I did and how, but I do recommend sticking with a pattern as it's not always this easy (or even possible) to modify a pattern to fit your needs.
Thankfully, this pattern was easy to adjust for my needs and I believe you could do the same for, let's say, a smaller mason jar.
I loved this pattern and the finished result and I think you will, too. :)

